PipeLine
Geometry Shader를 언제 사용하는지 알기 위해 파이프라인을 다시 살펴봐야 한다.
DXD9까지 파이프라인은 지금까지 알고있는 순서로 작동한다
IA - VS - RS - PS - OM
하지만 DXD10부터는 두개의 단계가 추가된다
IA - VS - GS(Geometry Shader) - SO (Stream Output) - RS - PS - OM
- Geometry Shader
- Vertex Shader에서는 할 수 없는 점이나, 선, 삼각형 등의 도형을 생성할 수 있는 기능을 갖고있다.
- 테셀레이션이나 그림자 효과, 큐브 맵을 한번의 처리로 렌더링하는 데에 주로 쓰인다.
- Stream Output
- 3D Shader 결과를 리턴해준다.
- 하지만 DXD11에서는 사용 하지 않고 ComputeShader를 사용한다.
Geometry Shader
쉽게 생각하면 지금까지 VertexShader에서 했던 각 정점을 Index값으로 이어주던 것을 정점 하나로 도형을 만들어 주는 셰이더이다.
이렇게 해주면 메모리를 더욱 절약할 수 있다.
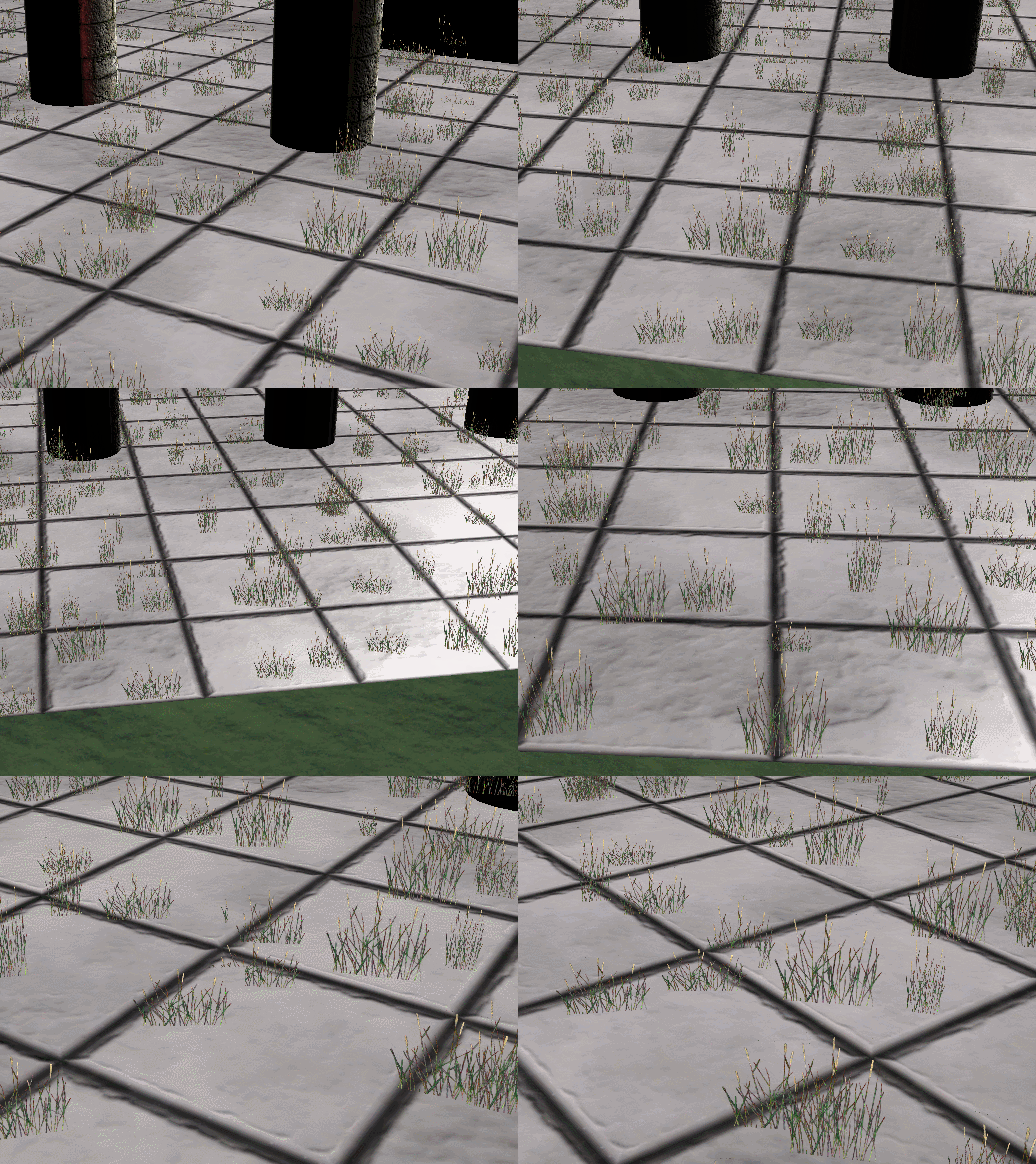
이 Geometry Shader로 Billboard를 바꿔보자
96_Billboard.fx
#include "00_Global.fx"
#include "00_Light.fx"
#include "00_Render.fx"


float4 PS(MeshOutput input) : SV_Target
{
    return PS_AllLight(input);

}

////////////////////////////////////////////////////////////////////////////////

struct VertexBillboard
{
    float4 Position : Position;
    float2 Scale : Scale;
};

struct VertexOutput
{
    float4 Position : Position;
    float2 Scale : Scale;
};

VertexOutput VS(VertexBillboard input)
{
    VertexOutput output;

    output.Position = WorldPosition(input.Position);
    output.Scale = input.Scale;

    return output;
}

struct GeometryOutput
{
    float4 Position : SV_Position;
    float2 Uv : Uv;
};

[maxvertexcount(4)]
void GS_Billboard(point VertexOutput input[1], inout TriangleStream<GeometryOutput> stream)
{
    float3 up = float3(0, 1, 0);
    //float3 forward = float3(0, 0, 1);
    float3 forward = input[0].Position.xyz - ViewPosition();
    float3 right = normalize(cross(up, forward));

    float2 size = input[0].Scale * 0.5f;


    float4 position[4];
    // x방향으로 -0.5
    position[0] = float4(input[0].Position.xyz - size.x * right - size.y * up, 1);
    position[1] = float4(input[0].Position.xyz - size.x * right + size.y * up, 1);
    position[2] = float4(input[0].Position.xyz + size.x * right - size.y * up, 1);
    position[3] = float4(input[0].Position.xyz + size.x * right + size.y * up, 1);

    float2 uv[4] = { float2(0, 1), float2(0, 0), float2(1, 1), float2(1, 0) };

    GeometryOutput output;

    [unroll(4)]
    for (int i = 0; i < 4; i++)
    {
        output.Position = ViewProjection(position[i]);
        output.Uv = uv[i];

        stream.Append(output);
    }
}

float4 PS_Billboard(GeometryOutput input) : SV_Target
{
    return BillboardMap.Sample(LinearSampler, float3(input.Uv, input.MapIndex)) * 1.75;
}

technique11 T0
{
    P_VP(P0, VS_Mesh, PS)
    P_VP(P1, VS_Model, PS)
    P_VP(P2, VS_Animation, PS)

    P_BS_VGP(P3, AlphaBlend, VS, GS_Billboard, PS_Billboard)
    P_RS_BS_VGP(P4, CullMode_None, AlphaBlend_AlphaToCoverageEnable, VS, GS_Cross, PS_Billboard)
}
큰 타이는 없지만 Input에 정점 한개를 받아서 그 위치에정점 4개를 만들고 Index를 3개 만든 뒤 이어준다.
Billboard
그리고 지금까지 만들었던 Billboard 클래스에서 텍스처를 받아서 만드는 것이 아닌 쉐이더를 받아 만들고 텍스처를 넣어준다.
Billboard.h
#pragma once
#define MAX_BILLBOARD_COUNT 10000

class Billboard : public Renderer
{
public:
	Billboard(Shader* shader);
	~Billboard();

	void Update();
	void Render();

	void Add(Vector3& position, Vector2& scale);
	void SetTexture(wstring file);

private:
	struct VertexBillboard
	{
		Vector3 Position;
		Vector2 Scale;
	};

private:
	vector<VertexBillboard> vertices;

	Texture* texture = NULL;
	ID3DX11EffectShaderResourceVariable* sDiffuseMap;
};
Billboard.cpp
#include "Framework.h"
#include "Billboard.h"

Billboard::Billboard(Shader* shader)
	: Renderer(shader)
{
	Topology(D3D11_PRIMITIVE_TOPOLOGY_POINTLIST);

	sDiffuseMap = shader->AsSRV("BillboardMap");
}

Billboard::~Billboard()
{
	SafeDelete(textureArray);
}

void Billboard::Update()
{
	Super::Update();
}

void Billboard::Render()
{
	if (vertexCount != vertices.size())
	{
		vertexCount = vertices.size();

		SafeDelete(vertexBuffer);
		vertexBuffer = new VertexBuffer(&vertices[0], vertices.size(), sizeof(VertexBillboard));
	}

	Super::Render();

	sDiffuseMap->SetResource(textureArray->SRV());
	shader->DrawIndex(0, Pass(), indexCount);
}

void Billboard::Add(Vector3 & position, Vector2 & scale)
{
	VertexBillboard vertex =
	{
		position, scale
	};

	vertices.push_back(vertex);
}

void Billboard::SetTexture(wstring file)
{
	texture = new Texture(file);
}
이상태로 실행하면
